
School Management
The School Management System at app.shuleone.co.ke is what the school office runs on. This guide covers every module in it.
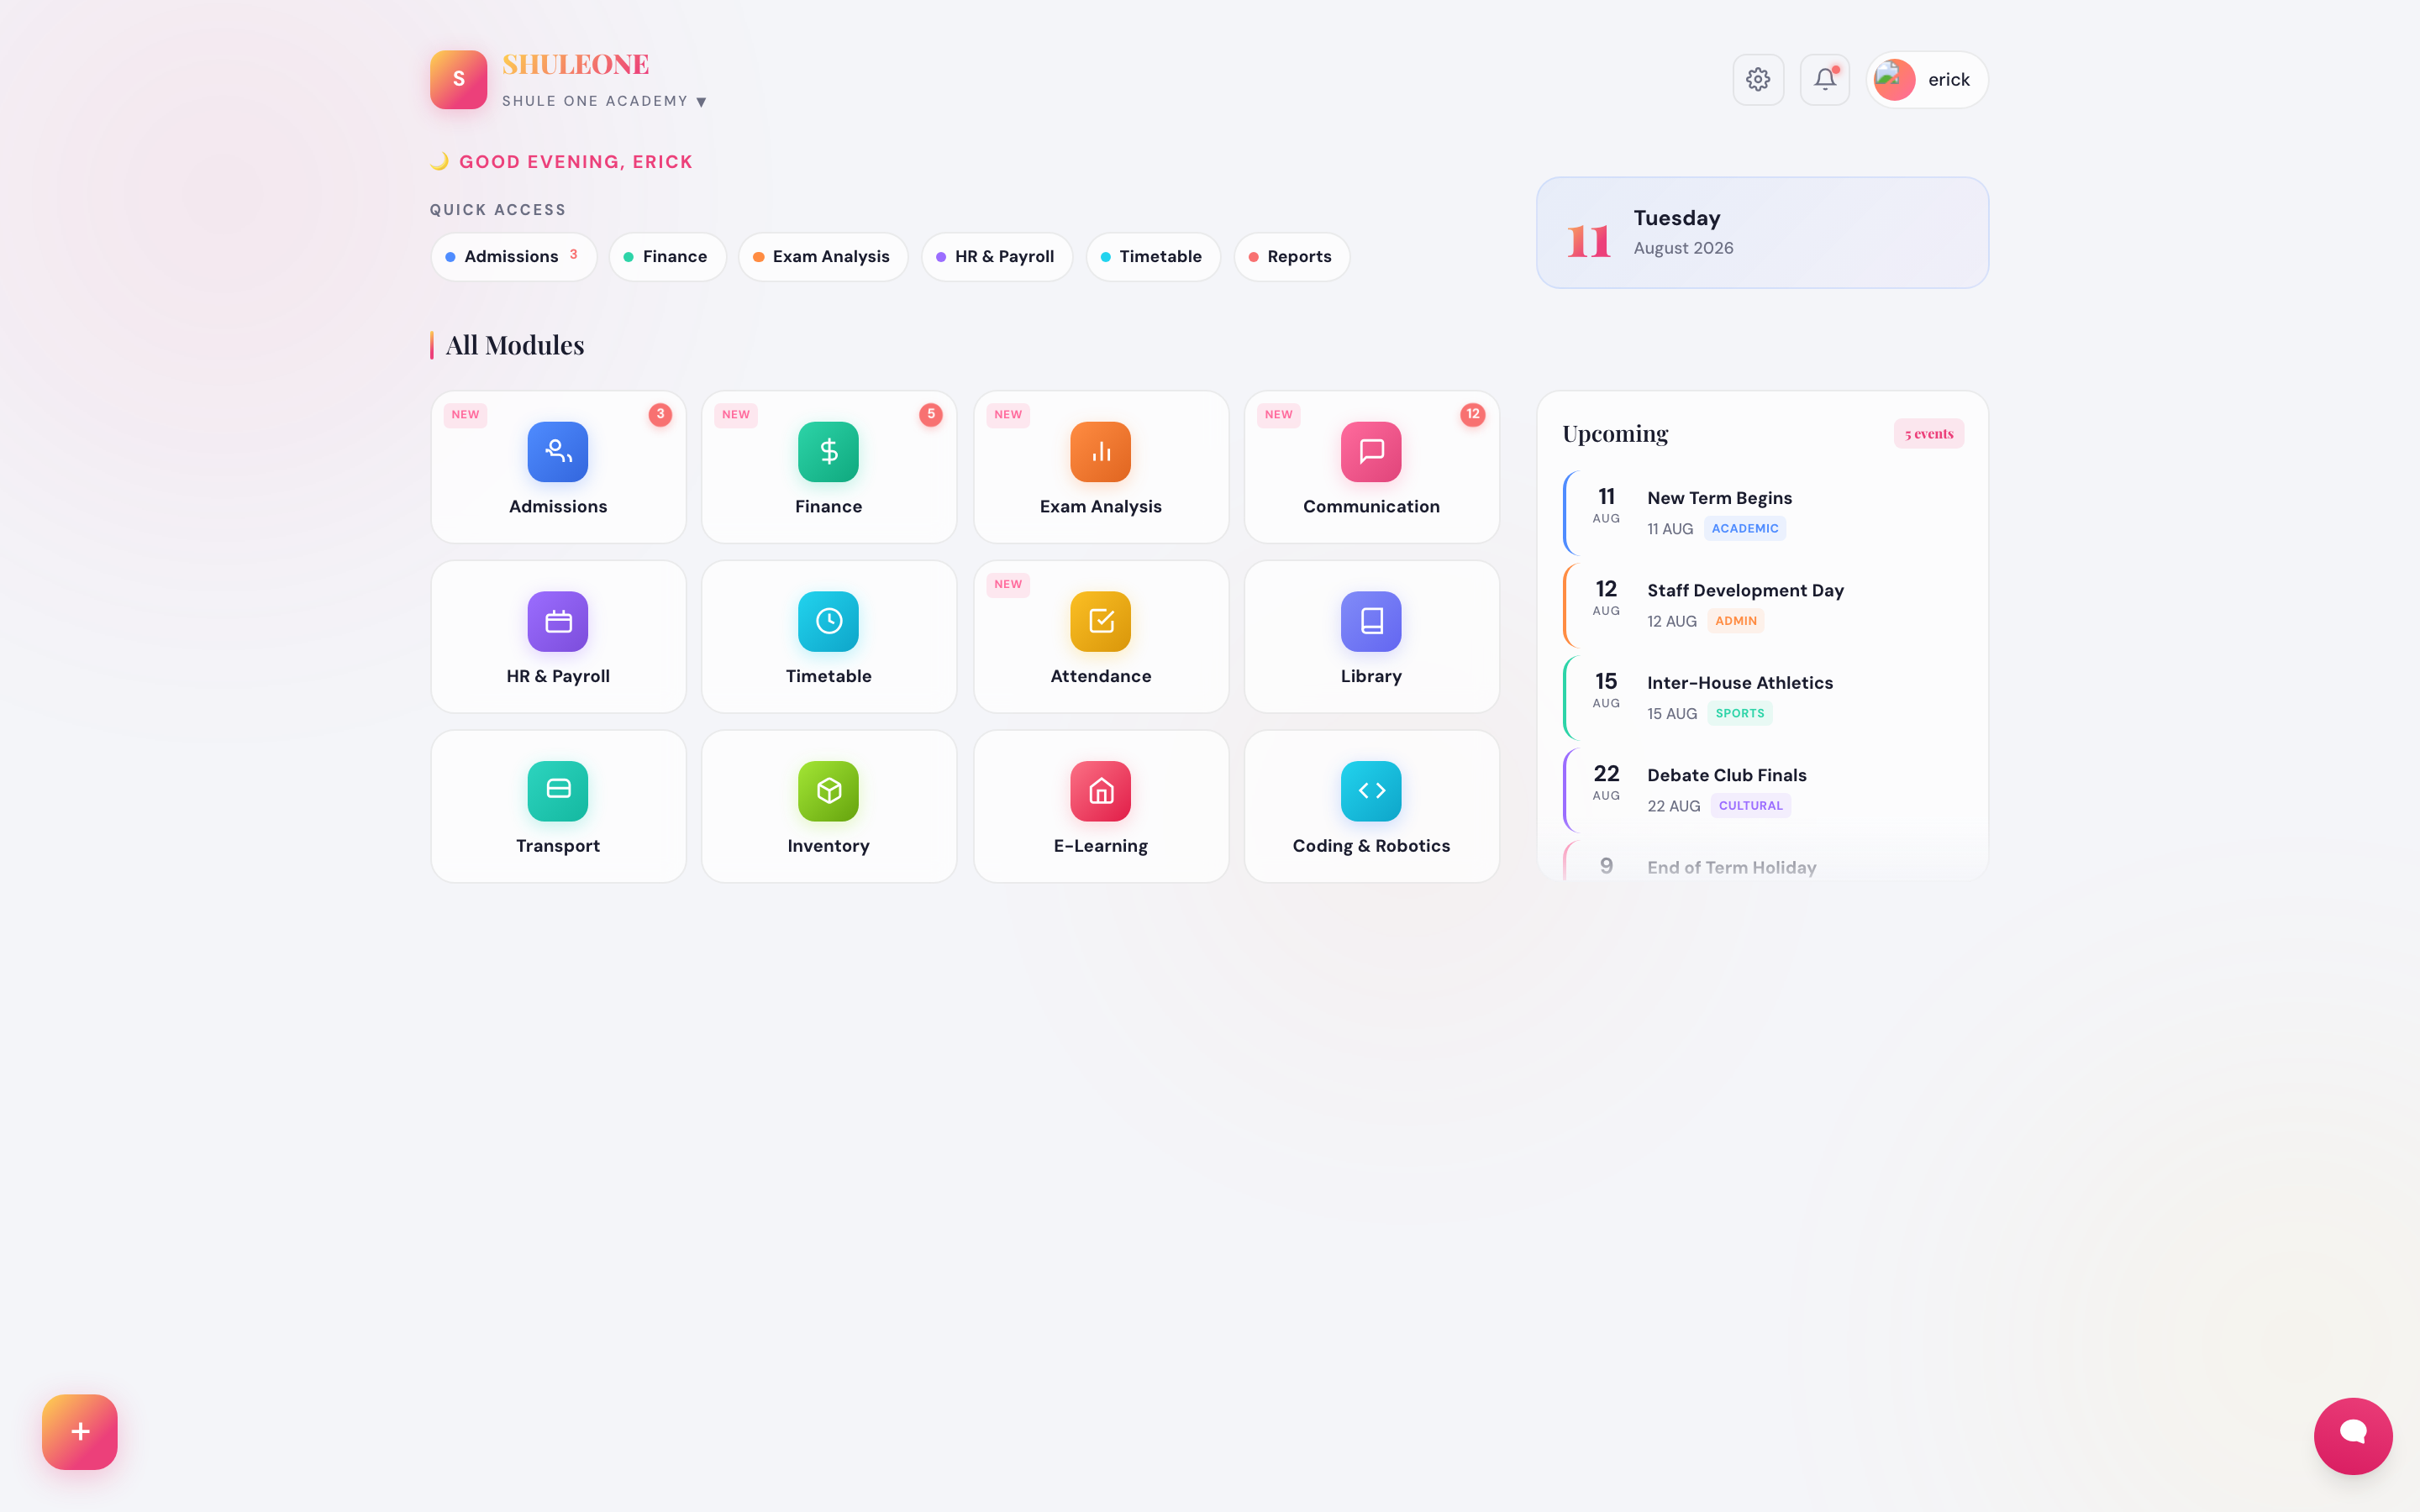
The school view: the school short name, your profile, a quick-access pane, and the modules your role can reach.
The modules
Section titled “The modules”| Module | What it does | Guide |
|---|---|---|
| Registration | Admit and maintain students, teachers, staff and board members | People |
| Academics | Subjects, exams, marks, grading, report cards, CBC rubrics, lesson plans | Academics |
| Attendance | Daily registers, biometric devices, absence notices, reports | Attendance |
| Finance | Fee structures, billing, receipting, balances and full accounting | Finance |
| HR and Payroll | Employees, payroll runs, statutory returns, leave, loans | HR |
| Inventory | Stores, requisitions, purchase orders, vendors, assets | Inventory |
| Library | Catalogue, loans, reservations, fines | Library |
| Timetable | Slot and bell setup, constraints, generation, printable grids | Timetable |
| Transport | Routes, vehicles, trips, GPS tracking, parent notifications | Transport |
| Communication | SMS, WhatsApp, newsletters, notice board, diary | Communication |
| E-learning | Notes, assignments, quizzes, past papers, live classes | E-learning |
| Boarding | Hostels, room allocation, welfare | Boarding |
Setting up a new school
Section titled “Setting up a new school”If your school is starting on ShuleOne, do it in this order. Each step depends on the ones above it, and skipping ahead is the most common cause of screens that will not save.
- School profile — name, short name, logo, contacts. The short name appears on receipts and report cards.
- Financial year and terms — open a financial year, then the terms or semesters inside it, then set the current term. Almost nothing else works until a current term exists.
- Classes and streams — the grades or forms the school runs, and the streams inside them.
- Departments — used by academics, HR and stores.
- Subjects — subjects, subject groups, and which are compulsory.
- Users and roles — accounts for your staff.
- Students, teachers and staff — the people themselves. Students can be imported from a spreadsheet.
- Grading and exam categories — before the first exam.
- Fee structures — voteheads first, then the structure per class, then bill the term.
Once those are in place the day-to-day modules — attendance, receipting, library, stores — work without further setup.
Term-by-term routine
Section titled “Term-by-term routine”At the start of each term:
- Open the new term and set it as current (Terms).
- Promote or place students in their new classes (Students).
- Copy or adjust the fee structure and bill the term (Billing).
- Publish the timetable (Timetable).
At the end of each term:
- Enter and verify marks, then generate report cards (Results).
- Send balances and statements to parents (Balances).
- Reconcile the bank and review the ledger (Accounting).
At the end of the financial year, run Year-end close.